LaCie external hard drives are widely used, particularly by creative professionals. However, like any storage device, they can sometimes fail to appear when connected to a Mac or Windows PC. A LaCie hard drive not showing up can be stressful when it holds critical files or backups.
It is crucial to follow a methodical diagnostic approach rather than attempting potentially risky fixes. This guide provides safe steps to determine why your LaCie external drive isn’t being recognized or mounting, explains common causes, and clarifies when professional data recovery is necessary.
Initial Safe Checks for Your LaCie Drive
Before investigating operating system or drive issues, rule out simple external factors. These apply whether you’re using macOS or Windows.
Verify Power and Connections
Ensure proper power and secure connections, especially for larger desktop models.
-
Power Adapter (if applicable): Confirm it’s firmly plugged into the drive and a working wall outlet (bypass surge protectors for test). Check for power lights. (Some LaCie drives use bus power via USB-C/Thunderbolt).
-
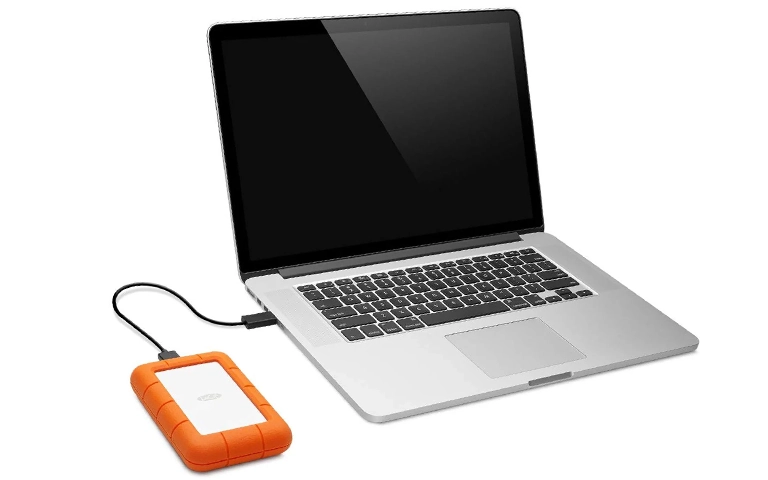
Data Cable: Securely connect the USB/Thunderbolt cable to both drive and computer. Inspect cable for damage.
-
Try a Different Cable: Test with another compatible, high-quality cable if possible.
-
Try a Different Port: Connect to another port on your computer, avoiding passive hubs if feasible.
Test on Another Computer
This helps isolate the problem.
- Connect Elsewhere: Carefully connect the LaCie drive to a different Mac or Windows computer.
- Observe: Does the drive mount and appear on the second computer? If yes, the issue likely resides with the original computer’s ports, drivers, or OS settings. If the LaCie drive is still not showing up, the problem almost certainly lies within the LaCie drive itself (enclosure or internal mechanism).
Why Isn't My LaCie Drive Showing Up?
A LaCie drive may not show up due to simple issues like faulty cables/ports or power problems. More complex causes include file system incompatibility (Mac format on PC or vice-versa), file system corruption (appearing RAW), failure of the LaCie enclosure’s electronics, or internal hard drive/SSD failure (clicking, beeping, no spin).
Checking LaCie Drive Status in Your Operating System (Diagnosis Only)
If basic checks fail, see if the OS recognizes the hardware, even if it doesn’t mount.
Use these tools ONLY to view status. Avoid formatting, initializing, or running repairs if data recovery is the goal.
Checking on macOS
Mac users should check these locations:
Disk Utility
- How: Applications > Utilities > Disk Utility. Select View > Show All Devices.
- Look For: Check the left sidebar for the LaCie drive listing (might show the LaCie name or the internal drive’s name like Seagate/WD).
- Status:
- Listed & Mounted (Not Greyed Out): Drive is detected and accessible by macOS. If not in Finder, check Finder Preferences (General & Sidebar tabs > ensure “External disks” is checked).
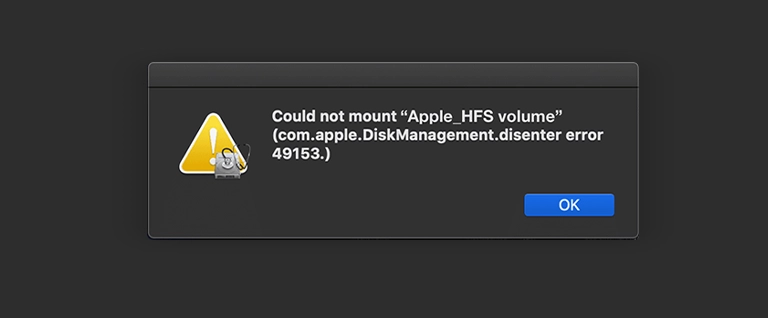
- Listed but Greyed Out (Unmounted): Hardware seen, but macOS can’t mount the volume (often corruption/format issue). Clicking “Mount” might fail. Do NOT Erase. Use “First Aid” with extreme caution. If mounting fails, see our specific guide for external drives not mounting on Mac.
- Listed as “Uninitialized” or No Volume: Severe partition or file system damage. Do NOT Initialize/Erase.
- Not Listed At All: Significant connection, power, or internal drive failure.
System Information
- How: Hold Option (⌥) > Click Apple Menu > System Information…
- Look Under: Check Hardware > USB and/or Thunderbolt/USB4. If the LaCie device is listed, the basic hardware connection is working.
Checking on Windows
Windows users should check these tools:
Disk Management
- How: Right-click Start > Disk Management.
- Look For: Check the disk list for a drive matching the LaCie’s capacity, possibly labeled “Removable” or showing the internal drive’s name.
- Status:
- Healthy Partition, No Drive Letter: Assigning a letter might help (Right-click > Change Drive Letter…). Use caution.
- Shows “RAW,” “Unallocated”: Drive seen, but file system unreadable or missing. DO NOT FORMAT.
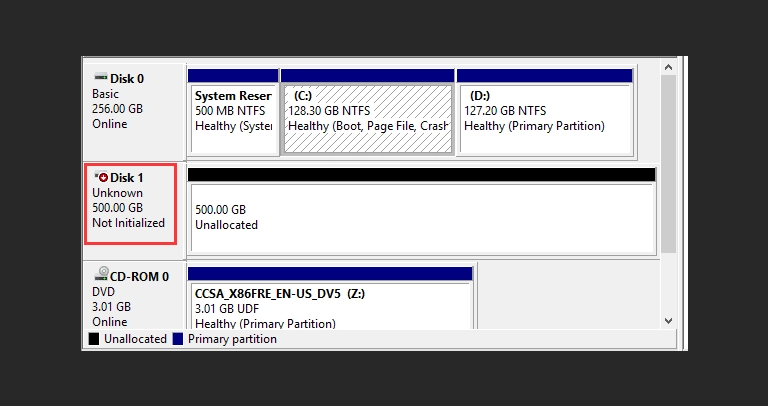
- Shows “Unknown,” “Not Initialized”: Severe partition issues. DO NOT INITIALIZE.
- Not Listed At All: Drive hardware not detected by Windows.
Device Manager
How: Right-click Start > Device Manager.
Look Under: Check “Disk drives,” “Portable Devices,” “Universal Serial Bus controllers.” Look for LaCie, the internal drive model, or “USB Mass Storage Device,” potentially with an error icon.
Status: Error icons suggest driver issues (often symptoms of drive failure). Absence indicates hardware detection failure.
For more detailed Windows steps, see our guide on external drives not showing up in Windows.
Common Reasons Your LaCie Drive Isn't Showing Up
Understanding the potential cause helps determine the next steps:
- Connection/Power Issues: As covered in initial checks.
- Formatting Incompatibility: Drive formatted for Mac (HFS+/APFS) won’t work easily on Windows without special software, and vice-versa (NTFS on Mac). exFAT is generally cross-compatible but can corrupt.
- File System Corruption: The drive’s directory structure is damaged (improper eject, power loss), making it appear RAW or prompting for format.
- LaCie Enclosure Failure: The electronics within the LaCie case (bridge board, power components) can fail, preventing communication with the perfectly healthy internal drive.
- Internal Hard Drive Failure (Common with HDDs): The Seagate or WD drive inside the LaCie enclosure has failed physically. Symptoms might include:
- Clicking Noises: Indicates severe mechanical failure (heads). Requires immediate power off! If you hear clicks, see our general clicking hard drive guide.
- Beeping Noises: Often indicates the motor isn’t spinning due to stuck heads (stiction) or motor failure. Power off immediately! Learn more about LaCie hard drive beeping.
- No Spin: Drive is silent, indicating motor or PCB issues.
- Internal SSD Failure (Less Common, More Complex): If your LaCie uses an SSD, controller failure or NAND issues can cause non-detection, often silently. General SSD issues are covered in our SSD not showing up post.
Get a Free Consultation.
Our recovery experts are ready to assess your device and guide you through the safest path to recovery. Fill out the form to get started.
"*" indicates required fields
Dangers of DIY Fixes When Your LaCie Drive Isn't Detected
Attempting software repairs or physical fixes yourself is risky when data is valuable.
- Formatting/Initializing: Irreversibly erases data pointers. Never do this if you need files back.
- Repair Utilities (Disk Utility First Aid, CHKDSK): Can worsen physical drive issues or complex corruption. Use with extreme caution or not at all.
- Opening the Enclosure: While sometimes necessary to test the internal drive, do this carefully. Crucially, NEVER open the sealed internal HDD unit outside a cleanroom.
- Running Recovery Software Blindly: If the issue is hardware failure, software scans can cause further damage to HDDs and are ineffective anyway.

DIY Recovery
Risks permanent data loss
Let the Specialists Handle It
DIY attempts often result in permanent data loss. Our certified recovery specialists use advanced tools in controlled environments for the highest success rate.

24/7 Emergency Service
Professional Data Recovery: The Safe Path for LaCie Drives
When your LaCie drive isn’t showing up due to internal failure, enclosure issues, or severe corruption, professional recovery is often the only safe, effective option.
How Professionals Recover Data from LaCie Drives
- Diagnosis: Determine if the issue is the enclosure, the internal drive’s logical structure, electronics (PCB), or mechanical components (HDD).
- Enclosure Bypass/Repair: If the enclosure is faulty, the internal drive is carefully removed and connected directly to recovery systems using appropriate adapters. Sometimes the enclosure board itself needs repair.
- Internal Drive Recovery: If the internal drive failed:
- Logical Recovery: Advanced tools reconstruct data from corrupted drives.
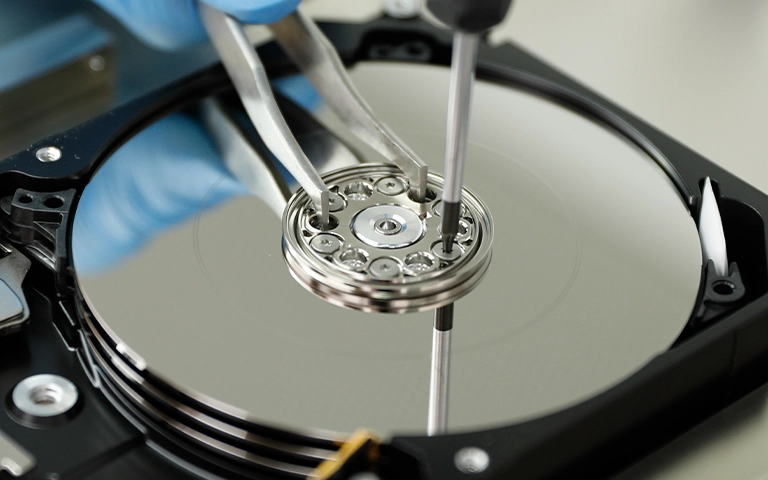
- HDD Physical Recovery: Requires cleanroom work for head replacement, motor issues, etc. See our Cleanroom page.
- SSD Physical Recovery: Involves component-level PCB repair, firmware manipulation, or chip-off techniques.
- Data Imaging & Extraction: A clone is created, and files are recovered from the image.
Our standard data recovery process covers these stages.
Industry-Leading 99% Success Rate
PITS Data Recovery has extensive experience with LaCie drives. Our labs handle logical recovery, cleanroom procedures, and SSD repairs necessary when your LaCie drive isn’t showing up.
Recommended Steps If Your LaCie Drive Isn't Showing Up
Perform Safe External Checks: Power, cable, port, different computer.
Check System Utilities (Carefully): Look in Disk Management (Win) or Disk Utility (Mac) for diagnostic clues only.
Listen for Sounds (HDDs): Note any clicking or beeping – power off immediately if heard.
Stop if Unsuccessful or Risky: Do not proceed with formatting or utilities if the drive isn’t detected or shows errors.
Contact PITS Data Recovery: Explain the symptoms (not showing up, noises, platform). We can provide expert assessment and recovery options.
Certified & Trusted Data Recovery
PITS Data Recovery is certified by leading industry authorities, ensuring secure and compliant data recovery for businesses and individuals.




Conclusion: Expert Help for Undetected LaCie Drives
When a LaCie external hard drive fails to show up or mount, perform safe diagnostics and avoid actions jeopardizing data. While connection or format issues occur, non-detection often stems from internal drive failure or severe corruption requiring professional intervention.
PITS Data Recovery offers specialized expertise for LaCie drives, utilizing advanced techniques and cleanrooms to safely recover data when a LaCie drive isn’t showing up, mounting, or has other failures. Don’t risk valuable files; contact us for professional evaluation. Explore: External Hard Drive Recovery Services.

