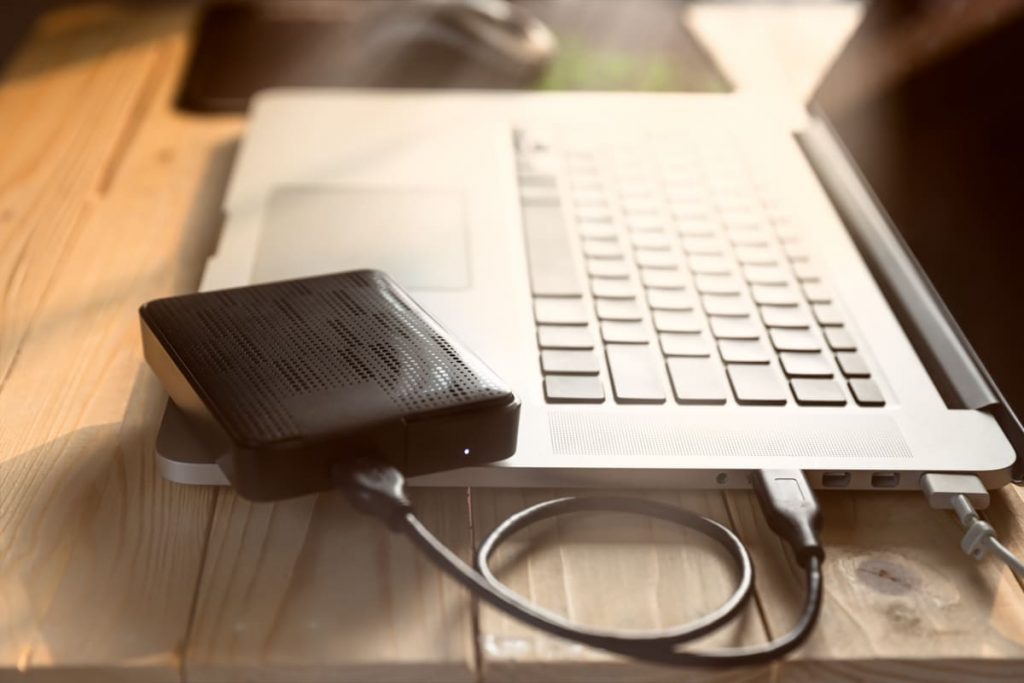
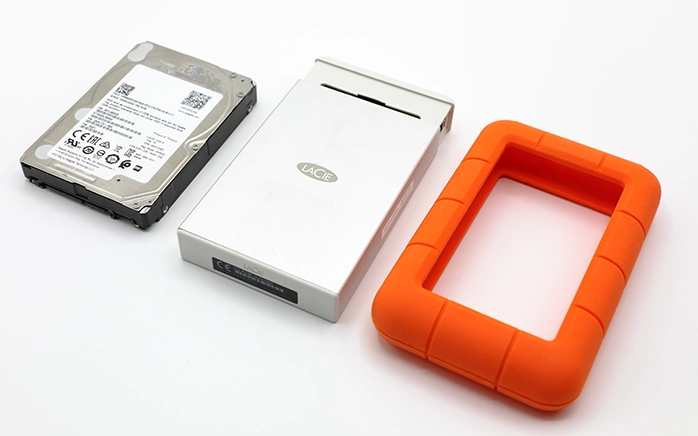
Mounting external hard drives on Linux is crucial for storage expansion, backups, and data sharing. In this guide, we’ll explore the steps to successfully mount external hard drives on Linux, focusing on Western Digital drives. However, the same method applies to any other external drive. Whether you’re new to Linux or an experienced user, this blog will help you unleash the power of your Western Digital or any other external drive in the Linux ecosystem.
Preparing Your Linux System
Before successfully connecting an external hard drive to your Linux system, ensuring your setup is ready for the task is crucial. It involves three key steps:
System Compatibility and Requirements
Verify if your Linux distribution is compatible with external drives. A wide range of modern Linux distributions can support different external drives, including models manufactured by Western Digital. Ensure your system meets the minimum prerequisites for connecting and utilizing external drives.
Ensuring the External Hard Drive is Recognized
Verify that your computer recognizes it after connecting the external hard drive to your Linux system. You can do this by checking system notifications or using commands like ‘lsusb’ or ‘dmesg’ in the terminal to confirm that the system detects the device.
Identifying the File System on the External Hard Drive
Different external drives may come with various file systems, such as NTFS, exFAT, or ext4. You’ll need to know the file system type to mount the drive successfully. You can utilize the ‘blkid’ or ‘lsblk’ commands to identify the file system on the external hard drive. This information is crucial for effectively choosing the right method and tools for mounting the drive.
Necessary Software on Linux to Mount External Hard Drive
After confirming that your Linux system is ready for external hard drives, the subsequent task is to set up the required software for seamless mounting. This entails familiarizing yourself with essential software tools and installing them onto your system.
Key File Systems
NTFS-3G: If your external hard drive operates the NTFS file system, NTFS-3G is a critical tool. It lets read and write access to NTFS drives on Linux, ensuring compatibility.
Btrfs Tools: For external drives using the BTRFS file system, you may need to install specific Btrfs tools to ensure smooth mounting and management.

Popular Linux Distributions
Installing these software tools may vary slightly depending on your Linux distribution. Here are general guidelines for some popular distributions:
Ubuntu: On Ubuntu, you can use the apt package manager to install software. For example, to install NTFS-3G, open a terminal and run: sudo apt install ntfs-3g
- For Btrfs tools, you can install them using: sudo apt install btrfs-progs
Fedora: If you’re using Fedora, you can use the DNF package manager. To install NTFS-3G, open a terminal and enter: sudo dnf install ntfs-3g
- For Btrfs tools, use: sudo dnf install btrfs-progs
| Linux Distributions | NTFS-3G | Btrfs |
|---|---|---|
| Ubuntu | sudo apt install ntfs-3g | sudo apt install btrfs-progs |
| Fedora | sudo dnf install ntfs-3g | sudo dnf install btrfs-progs |
The exact package names and installation methods may differ for other Linux distributions, so checking your distribution’s documentation for specific instructions is crucial.
Mounting the External Hard Drive to Linux
Once you have prepared your Linux system and installed the required software tools, it is time to connect your external hard drive. This section offers a detailed walkthrough to ensure a smooth and successful mounting process. We will discuss different approaches and provide troubleshooting suggestions to help you resolve any common problems that may occur during this task.
Mounting Using the GUI (File Manager)
- Open your file manager ( Nautilus for GNOME, Dolphin for KDE).
- Connect the external hard drive to the computer.
- The file manager will usually automatically detect and display your external drive.
- Click on the drive’s icon to mount it.
Mount External Hard Drive to Linux With Command Line
- Open a terminal.
- Utilize the ‘mount’ command followed by the device name (e.g., /dev/sdX) and the mount point (e.g., /mnt/mydrive). For example: sudo mount /dev/sdX /mnt/mydrive
How to Use the ‘mount’ Command with Options (Read-Only, Read-Write)
You can specify additional options when using the ‘mount’ command, providing flexibility in accessing the external drive. For instance, to mount a drive in read-only mode, preventing any write operations, you can use the ‘ro’ option: sudo mount -o ro /dev/sdX /mnt/mydrive
To mount the drive with read-write access, which allows both reading and writing, use the ‘rw’ option: sudo mount -o rw /dev/sdX /mnt/mydrive
Troubleshooting Common Issues
Permissions: If you encounter permission errors while attempting to access the mounted drive, you might have to modify the ownership and permissions of the mount point. You can change these settings using the ‘chown’ and ‘chmod’ commands.
Unmounting: It is crucial to unmount the drive to prevent data corruption properly. If you encounter difficulties in unmounting, ensure there are no files or applications currently using the drive. Afterward, utilize the ‘umount’ or ‘unmount’ command to safely eject the drive.
Following these steps and considering potential troubleshooting scenarios, you can effectively mount your external hard drive on Linux and maximize your storage solutions.
How to Mount External Hard Drive on Linux Permanently?
Although you have learned about mounting external drives on Linux, it is crucial to grasp the difference between temporary and permanent mounts. In this section, we will delve into the concept of permanent mounts and offer guidance on achieving persistence in your external drive mounts.
Temporary Mounts
Typically, when you mount a drive using the previously mentioned methods, the mount is temporary. The drive will remain accessible until you manually unmount it or the system restarts.
This approach is well-suited for situations that require the drive only temporarily or for a short period. It is also ideal for testing or troubleshooting to minimize the risk of damage.

Permanent Mounts
As the name suggests, permanent mounts ensure that your external drive is mounted each time your system starts up. It is particularly useful when you want your external drive readily available without manual intervention after a system restart.
Editing the ‘/etc/fstab’ File for Permanent Mounts
You can modify the ‘/etc/fstab’ file, also known as the file system table, to establish a lasting mount. This significant file comprises details regarding the file systems and drives that require mounting during system startup. To establish an enduring mount:
- Open a text editor with administrative privileges (e.g., using ‘sudo’).
- Add an entry to the ‘/etc/fstab’ file in the following format:
UUID=your_drive_UUID /mnt/mount_point file_system_type options 0 0
- ‘UUID’ Replace this with the ‘UUID’ of your external drive, which can be obtained using the ‘blkid’ command.
- ‘/mnt/mount_point‘ Specify the directory where you want to mount the drive.
- ‘file_system_type’ Indicates the file system type of your external drive (e.g., ext4, ntfs, exfat).
- ‘options’ Define mount options, such as ‘defaults’ for common settings. You can specify ‘ro’ for read-only or ‘rw’ for read-write access.
- ‘0 0’ These values are used for file system checking and should typically be set to ‘0 0’ for external drives.
Save the ‘/etc/fstab’ file, and your external drive will be mounted automatically at system startup.
Tips on Setting Up Automount Options
Aside from configuring permanent mounts via ‘/etc/fstab,’ you can establish automount settings. With automounting, the drive is mounted when accessed and unmounted when not in use, conserving system resources and offering greater control over external drive usage.
You can configure automount options using utilities like ‘autofs,’ or by creating custom udev rules for automatic drive mounting upon connection. Take a closer look at these alternatives to customize how your external drive is mounted to suit your requirements.
How to Unmount and Safely Disconnect Drives
After utilizing your external hard drive, it’s important to unmount and safely disconnect it to prevent data corruption and ensure the drive’s longevity. Here are some key concerns:
Transferring Data
Complete all data transfers or file operations before unmounting the drive. It will prevent incomplete writes and possible data loss.
Eject or Safely Remove
Most Linux desktop environments offer an “Eject” or “Safely Remove” option when right-clicking the drive icon in the file manager. This action ensures that all pending write operations are done before disconnection.
Regular Backups
Execute a routine backup strategy to protect your data. You can employ various backup utilities, such as ‘rsync,’ ‘dd,’ or graphical backup tools, to create backups of your files and folders on the external drive.
Data Encryption
For sensitive data, consider encrypting the contents of your external drive. Linux provides encryption tools like ‘dm-crypt’ and ‘LUKS’ for this purpose, improving data security.
Follow techniques to safely eject and disconnect your external hard drives, guaranteeing data integrity and device durability.
On a Linux system, mastering the mounting and management of external hard drives is crucial for expanding storage, backing up data, and efficient file sharing. Whether you’re using a Western Digital drive or any other external storage device, this guide will assist you in effortlessly navigating the process, from mounting to maintaining data security.
Encountering issues with a malfunctioning external hard drive can be overwhelming regarding data recovery. During such challenging times, we recommend seeking assistance from PITS Global Data Recovery, reputable experts in data recovery services. They possess the necessary expertise and experience to salvage your critical data from failed external hard drives, ensuring the accessibility and security of your valuable information.
Frequently Asked Questions
How to mount an external hard drive in Red Hat Linux?
You can mount an external hard drive in Red Hat Linux using the ‘mount’ command. First, ensure your drive is connected, and then use a command like sudo mount /dev/sdX /mnt/mount_point, replacing /dev/sdX with your drive’s device name and /mnt/mount_point with your chosen mount location.
Can Linux mount Btrfs external drives?
Yes, Linux can mount Btrfs-formatted external drives. Use the same ‘mount’ command, specifying the drive’s device name and mount location, just like with other file systems.
How to mount an NTFS external hard drive in Linux?
To mount an NTFS external hard drive in Linux, you can use the ‘ntfs-3g’ driver. First, make sure the ‘ntfs-3g’ package is installed, and then use the ‘mount’ command with options like sudo mount -t ntfs-3g /dev/sdX /mnt/mount_point.
Where does an external hard drive mount on Linux?
External hard drives are typically mounted in the ‘/media’ directory by default on most Linux distributions. The specific path might include your username and the drive’s label or UUID, making it easily accessible.
What directory is an external drive mounted in Linux?
External drives are mounted in the ‘/media’ directory by default on Linux. The exact path may include your username and the drive’s label or UUID for identification.


