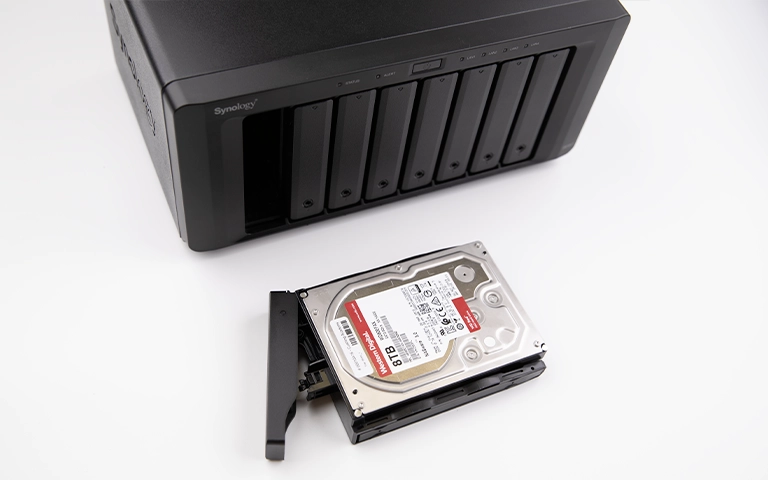
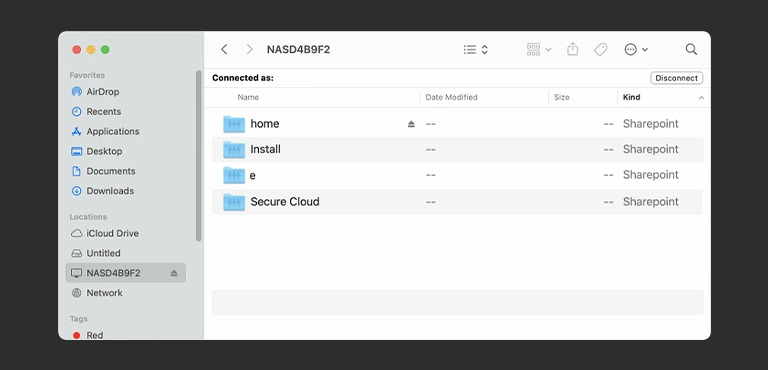
Network Attached Storage (NAS) devices offer convenient centralized file access. However, encountering a NAS not showing on network interfaces like Windows File Explorer or macOS Finder is a common frustration. This issue can affect popular brands including Synology, QNAP, WD, Buffalo, and Drobo.
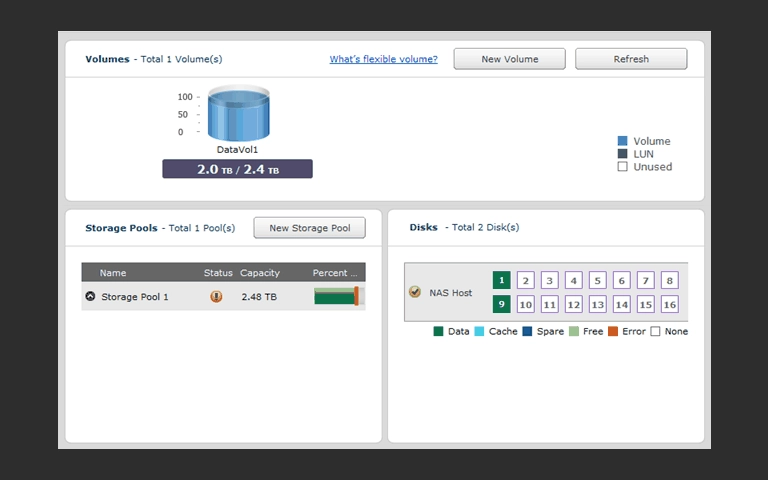
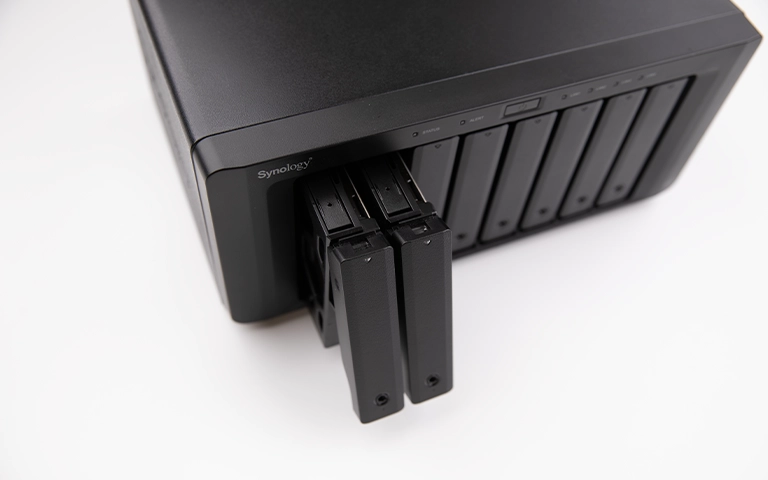
While often related to network configuration issues, this symptom can sometimes indicate deeper problems within the NAS unit itself. Potential causes include drive failure, RAID degradation, or OS corruption, placing stored data at risk. This guide provides systematic troubleshooting steps and clarifies when professional NAS data recovery is required.
Step 1: Basic Network and Device Checks
Start with the fundamentals, regardless of your NAS brand or computer’s operating system.
Check Physical Connections
- Ethernet Cable: Ensure the Ethernet cable is securely plugged into both the NAS device and your router or network switch port. Try a different Ethernet cable and a different port on the router/switch if possible. Check for link lights on the NAS Ethernet port and the corresponding switch/router port – are they lit or blinking, indicating a connection?
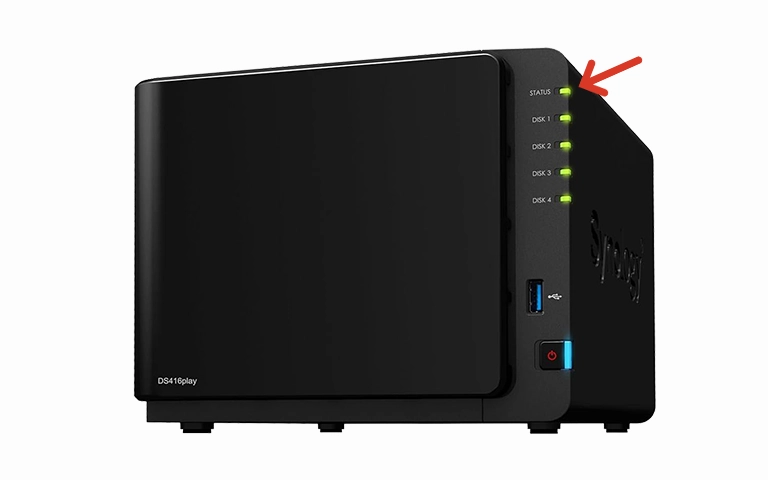
- Power: Verify the NAS unit itself is powered on. Check indicator lights on the NAS. Ensure the power adapter is securely connected to the NAS and a working outlet.
Check Your Router and Network
- Router Status: Is your main internet router functioning correctly? Can other devices on the network see each other?
- Reboot Devices (In Order): A simple reboot sequence often resolves temporary network glitches. Power off your computer(s), the NAS device (via its shutdown procedure if accessible, or by holding the power button if not, as a last resort – note this carries minor risk if drives are active), and finally your router/modem. Wait a minute, then power on the modem first, wait for it to fully connect, then the router, wait, then the NAS (allow it several minutes to fully boot), and finally your computer(s).
Check NAS IP Address and Accessibility
Your NAS needs a valid IP address to communicate on the network.
Find the IP: Use the NAS manufacturer’s discovery tool (e.g., Synology Assistant, Qfinder Pro) on a computer connected to the same network. Alternatively, log into your router’s administration interface and look for the list of connected DHCP clients to find the IP address assigned to your NAS.
Ping the NAS: Open Command Prompt (Windows) or Terminal (Mac) and type ping [NAS IP Address] (e.g., ping 192.168.1.105). If you get replies, the NAS is alive on the network at a basic level. If it times out, there’s a connectivity issue or the NAS isn’t responding.
Try Accessing Web Interface: Open a web browser and type the NAS IP address directly into the address bar (e.g., http://192.168.1.105 or https://192.168.1.105:port_number). If the login page loads, the NAS OS is running, and the problem likely lies in network sharing protocols (SMB/AFP).
Why Is My NAS Not Showing On Network?
A NAS may not show on the network due to basic issues like loose cables, power problems, or needing a reboot. Network configuration errors (Network Discovery off, firewall blocking) on your computer can also hide it. More seriously, internal NAS problems like OS corruption, hard drive failure, or RAID degradation can prevent necessary network services from running.
Step 2: Operating System Network Discovery Checks
Sometimes the NAS is technically on the network, but your specific computer isn’t configured to “see” it easily in the file browser.
Checking on Windows (10/11)
- Network Discovery: Ensure Network Discovery is turned ON for your current network profile (usually Private). Go to Settings > Network & internet > Advanced network settings > Advanced sharing settings. Expand your current profile (e.g., Private) and ensure “Network discovery” is On.
- SMB 1.0/CIFS Support (Older NAS/Systems): Newer Windows versions sometimes disable the older SMB1 protocol for security. If you have an older NAS, you might need to enable “SMB 1.0/CIFS File Sharing Support” under “Turn Windows features on or off” (search from Start). Use caution as SMB1 has known security risks.
- Firewall: Temporarily disable third-party firewalls to see if they are blocking discovery, then reconfigure if necessary. Windows Firewall generally allows local network discovery but check its rules if customized.
Checking on macOS
- Finder Preferences: Go to Finder > Preferences/Settings > Sidebar. Ensure “Bonjour computers” and “Connected servers” are checked under the “Locations” section.
- Connecting Manually: In Finder, go to Go > Connect to Server… (Cmd+K). Try connecting directly using the NAS IP address with the appropriate protocol prefix (e.g., smb://[NAS IP Address] or afp://[NAS IP Address]).
- Firewall: Check System Preferences/Settings > Security & Privacy > Firewall > Firewall Options… Ensure file sharing connections (SMB/AFP) aren’t explicitly blocked.
Get a Free Consultation.
Our recovery experts are ready to assess your device and guide you through the safest path to recovery. Fill out the form to get started.
"*" indicates required fields
Identifying Internal NAS Problems Causing Network Invisibility
If you’ve performed the network and OS checks above and your NAS drive is still not showing on the network, or if accessing it via IP is impossible or extremely sluggish, the problem might be internal to the NAS device itself. Network visibility issues can be symptoms of:
NAS Operating System Corruption
The NAS OS (e.g., Synology DSM, QNAP QTS) stored on internal drives can corrupt due to improper shutdowns, failed updates, or drive issues. This prevents essential network services (SMB/AFP, web server) from starting, making the NAS invisible despite having power/IP.
Internal Drive Failure / RAID Degradation
- Single Drive Failure (Non-RAID/RAID 1): In simpler setups, failure of the primary drive holding the OS can cause boot failure and network invisibility.
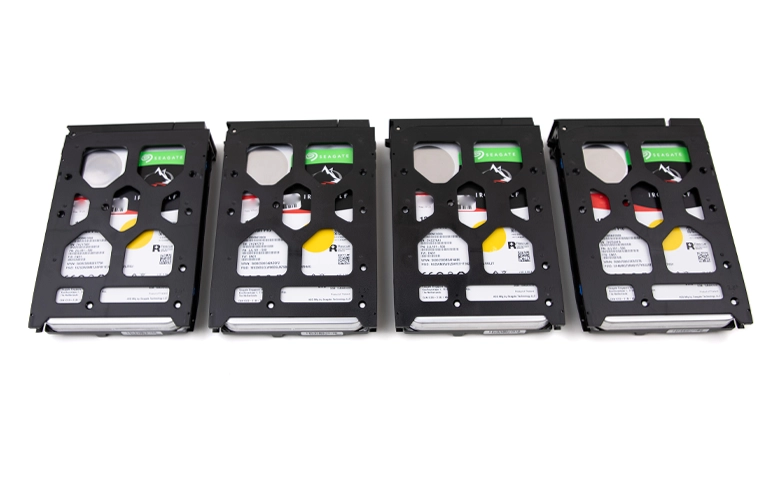
- Multiple Drive Failures (RAID 5, 6, 10, SHR, etc.): Most NAS devices use RAID (Redundant Array of Independent Disks) for data protection or performance. If more drives fail than the RAID level can tolerate (e.g., two drives in RAID 5, one drive in RAID 1), the array becomes degraded or offline. This often prevents the NAS OS from booting fully and stops network services. (Specifics depend on the level, like RAID 5 or RAID 10).
- Symptoms: You might also notice unusual Synology blinking lights or orange lights, or hear drive clicking/beeping.
NAS Hardware Failure
Less commonly, the NAS unit’s own hardware (motherboard, RAM, network interface controller) could fail, preventing it from properly joining or communicating on the network.
Can Data Be Recovered If My NAS Is Not Accessible?
Yes, data recovery is often possible even if the NAS is not showing on the network. Professionals can address internal issues like RAID failure, drive failure, or OS corruption. They use specialized tools to safely image drives, virtually rebuild RAID arrays, and extract data directly, bypassing network access problems.

DIY Recovery
Risks permanent data loss
Let the Specialists Handle It
DIY attempts often result in permanent data loss. Our certified recovery specialists use advanced tools in controlled environments for the highest success rate.

24/7 Emergency Service
Why Professional Data Recovery is Crucial for Internal NAS Issues
DIY attempts for internal NAS problems are extremely risky.
RAID Complexity: Incorrect rebuilds, forcing drives online, or initializing disks permanently destroys data. Professionals use safe virtual rebuild methods.
Proprietary Systems: NAS OS/RAID implementations (SHR, BeyondRAID, ZFS) often require specialized knowledge standard tools lack.
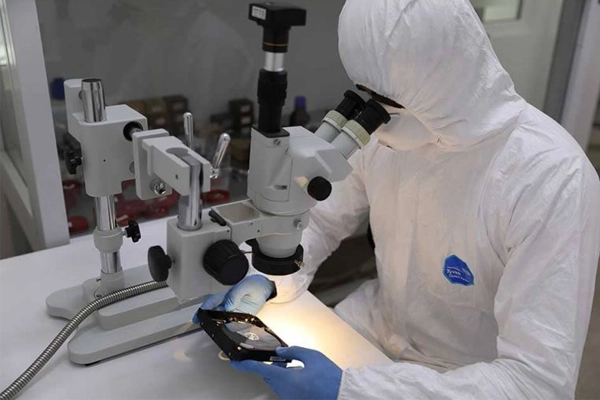
Drive Handling: Failed NAS drives may need cleanroom work like any failed drive. Cleanroom facilities may be required.
OS Corruption: Recovery requires bypassing the standard interface to access underlying data partitions.
Don't Let Data Loss Ruin Your Business
What To Do if Your NAS Remains Invisible
If basic network and OS troubleshooting fails:
- Listen for Drive Noises: Are the internal drives clicking, grinding, or beeping? This indicates physical drive failure needing immediate professional attention. Power off safely if possible.
- Check NAS Status Lights: Consult your NAS manual for the meaning of any unusual blinking patterns (like the specific Synology light codes).
- Avoid Risky Actions: Do NOT initialize disks, force rebuilds, or factory reset the NAS if data is critical.
- Document Everything: Note your NAS model, drive configuration (if known), symptoms, and troubleshooting steps tried.
- Contact PITS Data Recovery: Explain that your NAS is not showing on the network despite basic checks. We can guide you on the next steps for professional diagnosis and data recovery. Understanding our recovery process helps.
Your Data Security Is Our Priority
Data privacy isn’t optional. It’s our commitment. Our secure recovery process ensures your sensitive information stays protected from start to finish.
HIPAA Compliant
GDPR Compliant
Secure Facility
NDA Available
Trust in certified security. Start your recovery today! Call Now: 888.611.0737
Conclusion: Addressing Network Invisibility for NAS Devices
A NAS not showing on the network, while sometimes a connectivity issue, often signals deeper problems within the device itself, such as OS corruption, drive failure, or RAID degradation.
Attempting complex RAID rebuilds or initializing disks without expertise commonly leads to permanent data loss. When network troubleshooting fails or internal issues are suspected, professional NAS data recovery offers the safest path. PITS Data Recovery handles complex NAS/RAID failures, including Server-based storage. If you cannot access your NAS, contact us for expert evaluation.

